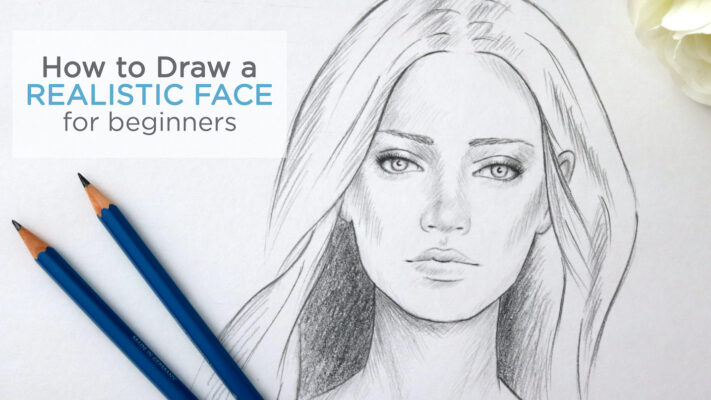
 I start with a tutorial that I know most of you are interested in as this is the question that I get the most, how to draw a realistic face. Here I show you a simple front view position in sketch style. What I’m going to use is the hatching and cross-hatching technique for the shading.
At the end of this post you can find the video of the drawing process.
Let’s get started.
Start with a circle, use light lines at this stage, so you can make changes easily later and also, these are guidelines that you would like to erase anyway. I like to use either an HB or a 2B pencil for the initial sketch.
Then draw a horizontal and a vertical dissecting lines.
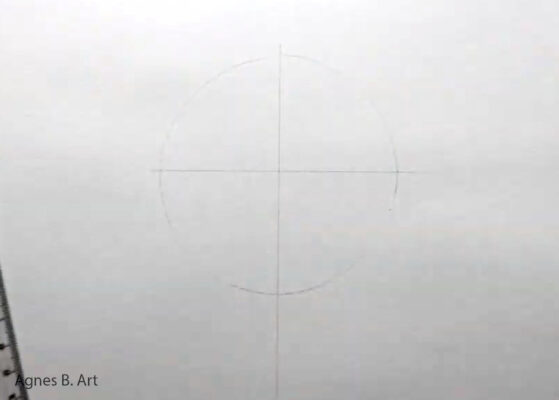
Find a line on the top for the hairline and one on the bottom for the bottom of the nose line. To do this, first half the whole hight of the circle then further divide the top and bottom half into thirds. The top third line on the top will be the hairline and the bottom third on the bottom will be the bottom of the nose line. You can measure it or just do it by eye.
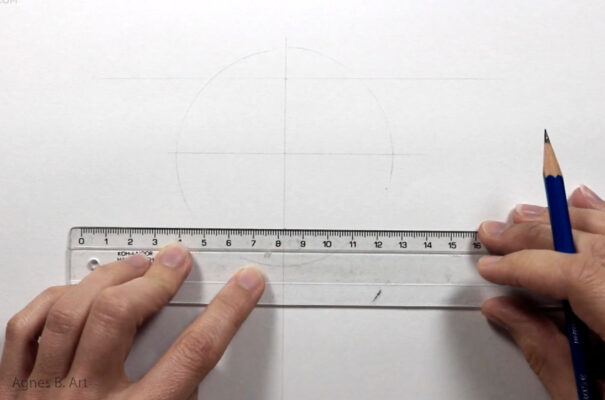
Then take the the measurement from the half line to the bottom of the nose line and drop it down along the vertical dissecting line, mark it. This will be the bottom of the chin.
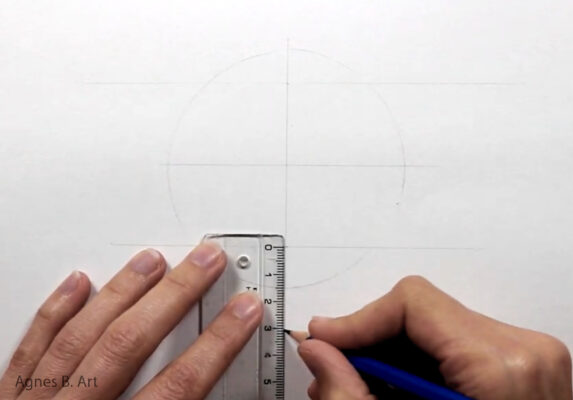
Take the whole hight of the whole head and half it, this will be the eye line.
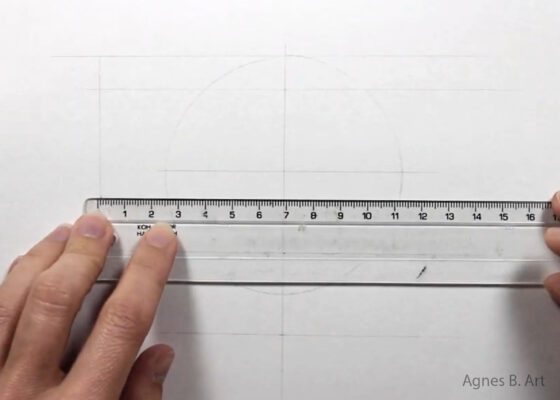
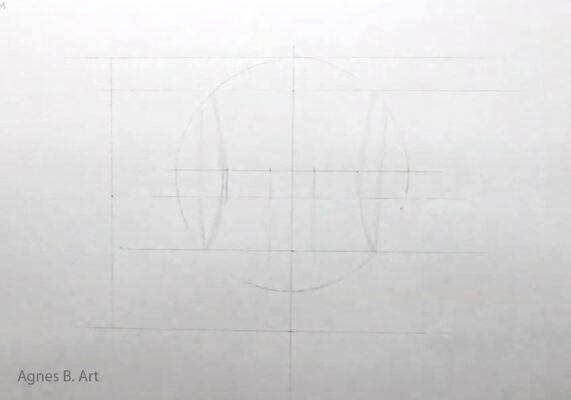
Find the width of the eye. The distance between the eyes is one eye.
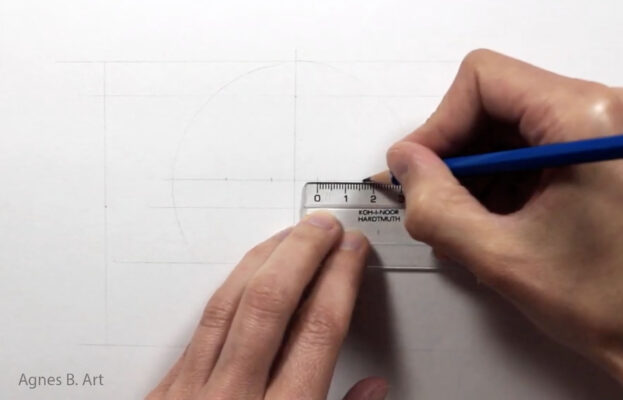
Then draw the side planes of the head.
Now you can start working on the features. I like to star with the eyes. Notice the shape of the them, they are not like perfect almond shapes. Draw the tear ducts as well. Try to make the two eyes symmetrical, but if they are not perfectly that’s ok too, they are not perfectly symmetrical in real life. Just do your best.
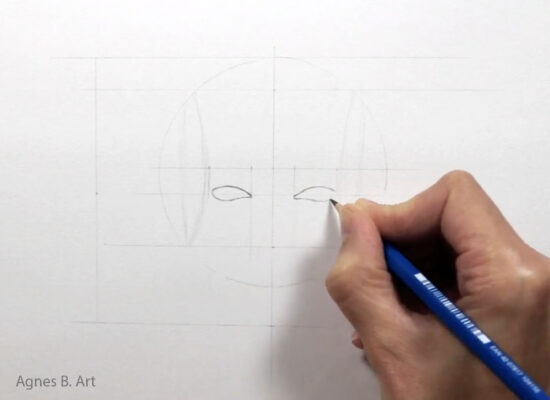
Draw circles for the irises. The top part is usually hidden by the upper eyelids.
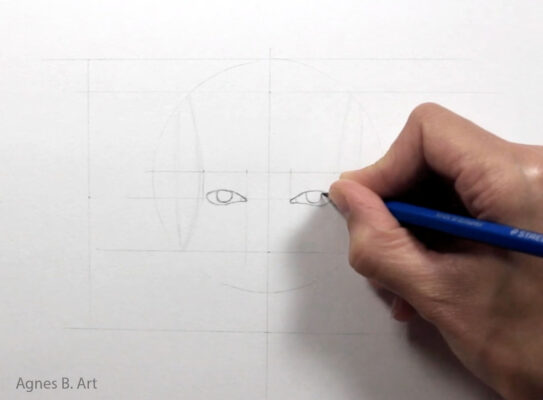
Draw the waterlines as well, which are the thickness of the lids. In this position of the head you can see only the waterlines of the bottom lids.
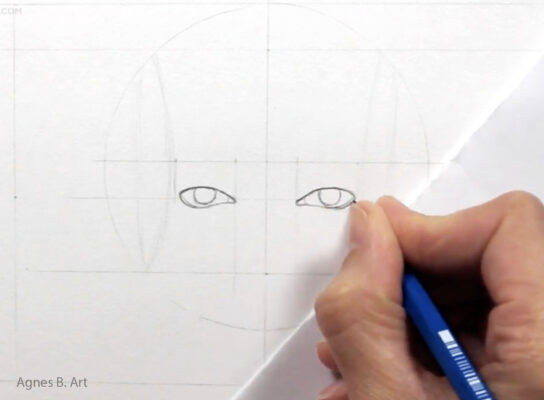
Then comes the pupils. These are circles as well and positioned at the center of the iris. Here I left a part blank for the highlights.
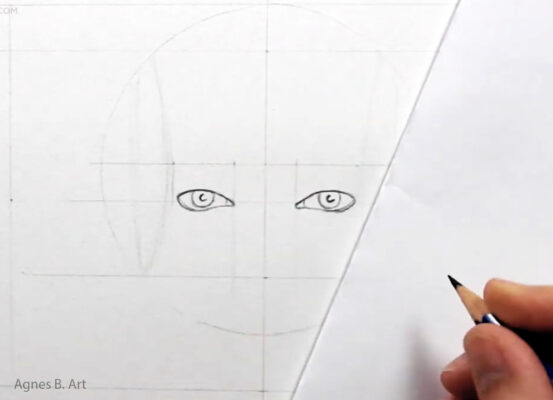
Draw the creases above the lines of the upper lids.
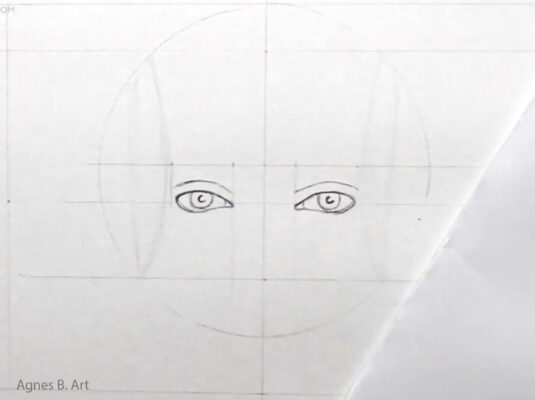
Then draw the eye brows. Notice their shape and the direction of growth. If you are unsure look at yours in the mirror or pictures of people in a magazine.
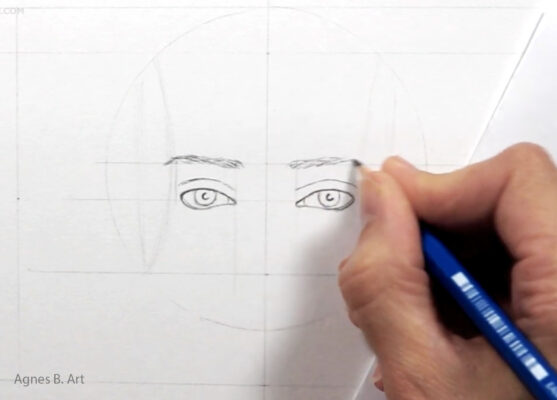
Draw to vertical lines down from the inner corners of the eyes and draw two curvy lines just above the bottom of the nose line touching these vertical lines. These curves indicate the side of the wings.
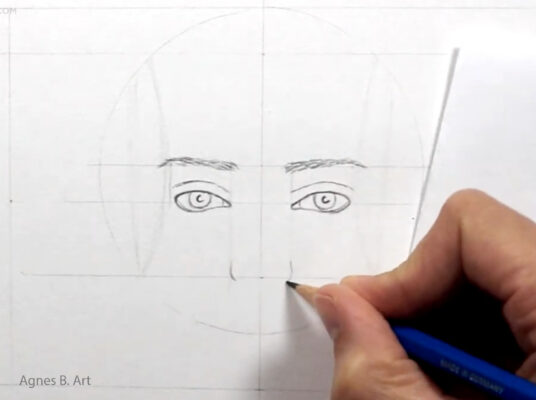
Then two oval like shapes for the nostrils and a circle for the tip of the nose.
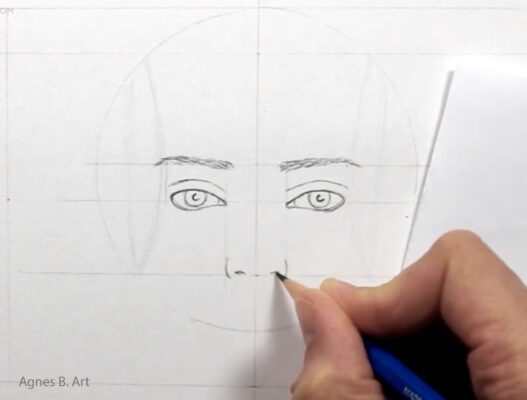
Divide the part between the nose and chin into thirds, the top third indicates the separation line of the lips. A bit above this line indicate the top edge of the upper lip. Then draw two vertical guidelines from the inner edges of the irises, these will show you the where will the corners of mouth be.
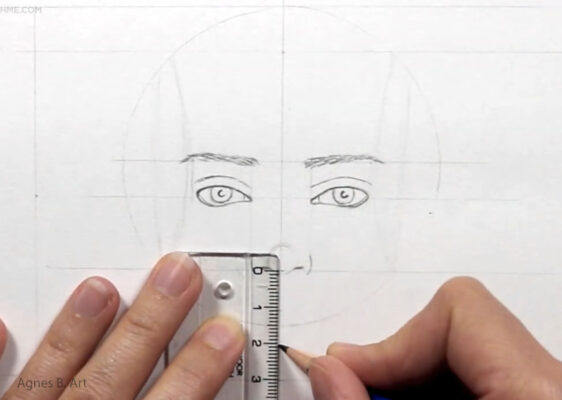
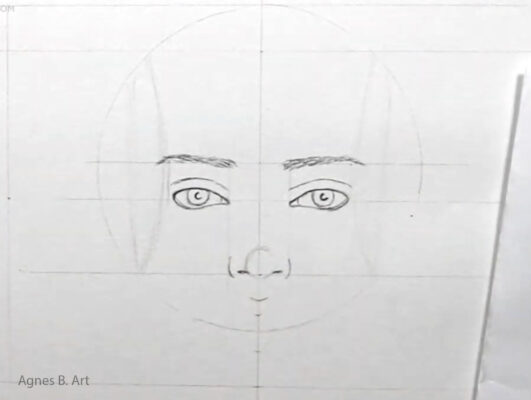
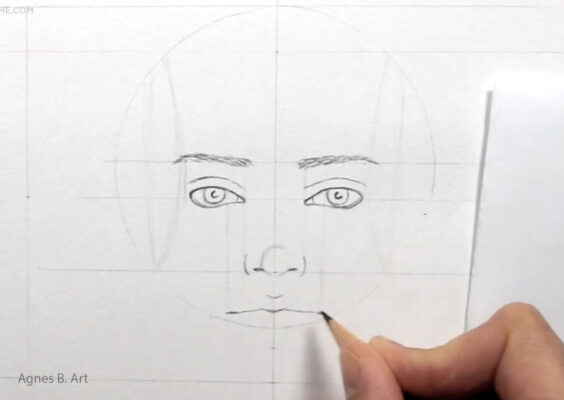
Now you can draw in the separation line of the lips. It’s not a flat line. Notice its wavy curves. Then draw the shape of the lips with gentle, light lines.
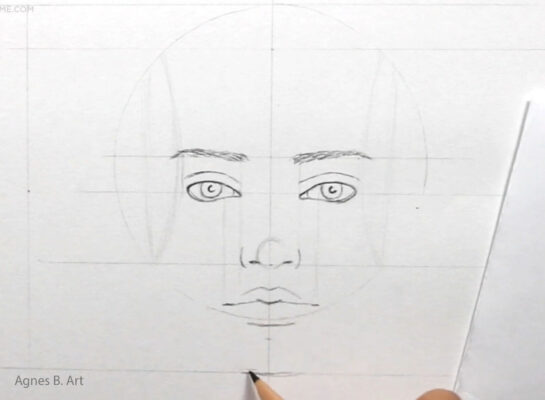
When the features are done, draw the shape of the face. Start with the chin, then the jaw line. Try to make the two sides symmetrical.
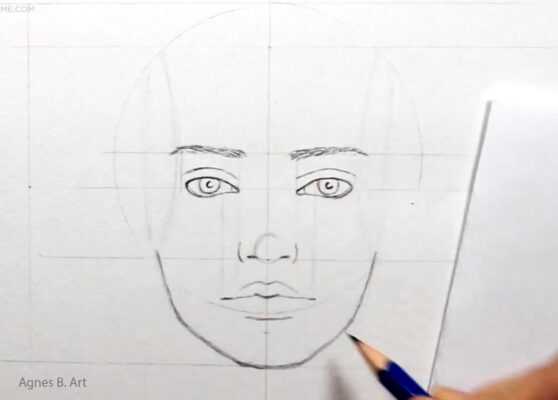
Draw the ears. They are roughly between the brow line and bottom of the nose line on the sides. And they have an angle. There are smaller forms and shapes building up the ears. Again, have a look on your ears in the mirror or check a picture in a magazine to understand the main shapes.
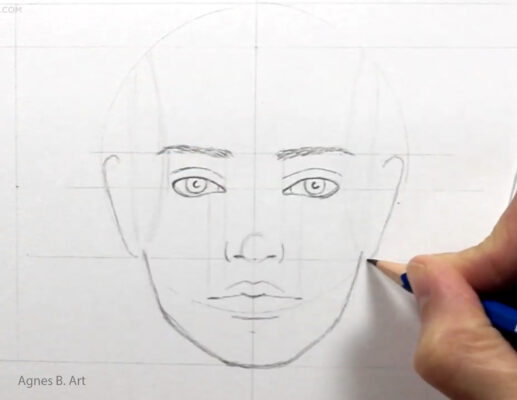
Now you can move on to the neck and shoulders. The neck line starts just a bit inside of the corner of the jaw. Also, there is a “V” like shape for two muscles that are running down on the sides from the bottom of the ears towards the pit of the neck. It makes the portrait more realistic if you include them into your drawing. Also, a small dimple for the pit of the neck, and two lines indicating the collarbone.
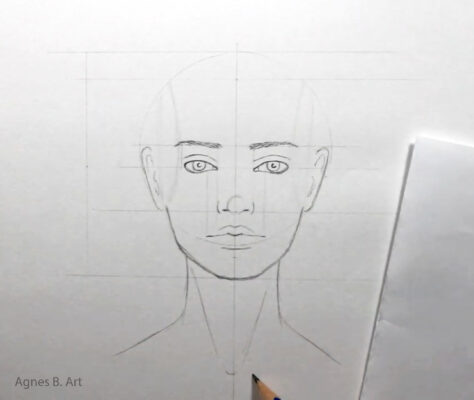
When it’s down, draw the hair. The hairstyle is up to you, but make sure to follow the hairline when drawing the roots. Think in the main contours, main shapes and strands. You don’t need to draw every single hair.
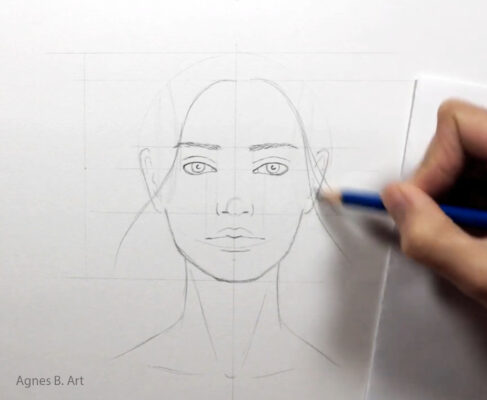
Now you are ready with the initial sketch. You can erase the guidelines and start working on the details. I usually like to start with the eyes.
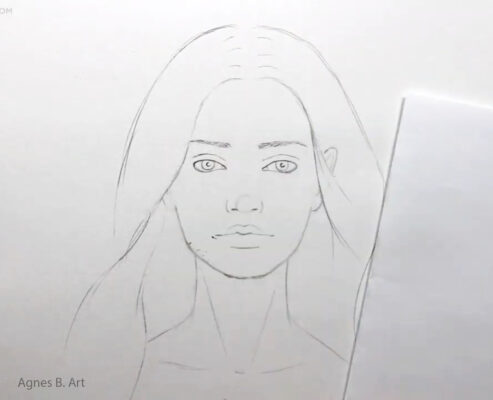
At this stage I use 2B, 4B, 7B and 8B pencils. These are softer, so great for shading and deeper values and stronger lines. The higher the number, the softer the pencil is, the darker the value you can achieve.
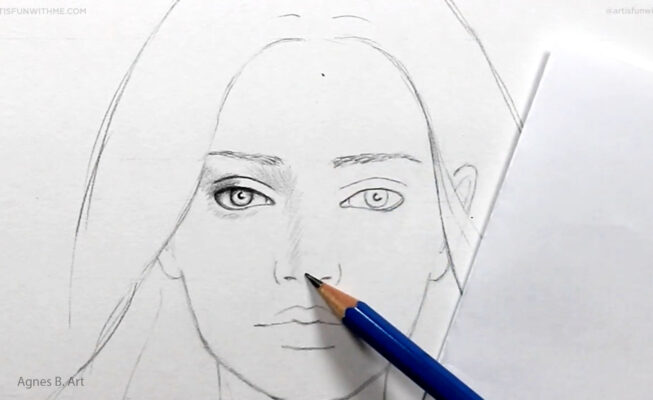
If you are using a reference photo, you can use its lighting scenario, and shading pattern. Here I’m aiming for a sketch style, so I shade only where the main shadows are. But still paying attention for the value of the particular shadow area. So I use variation in the darkness of the shadow parts, somewhere they are lighter, somewhere darker. I use hatching and cross-hatching technique for this.
I like to render the eyes a bit more in details and keep the rest of the face loose.
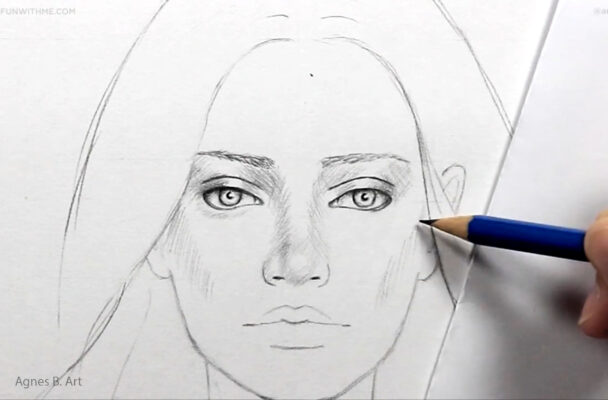
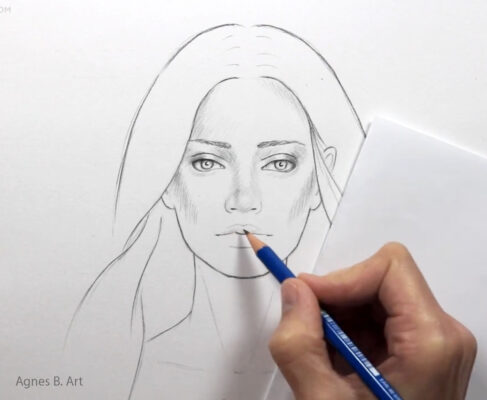
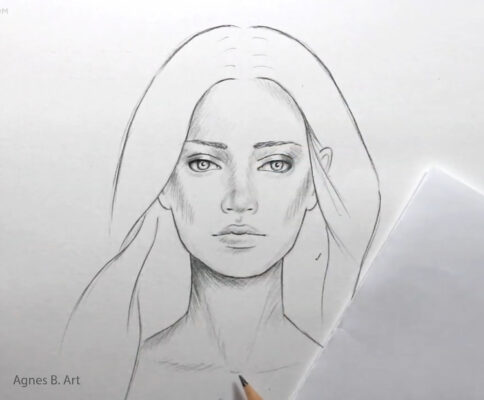
I use the same approach at the hair. Loose shading, hatching and cross-hatching, paying attention to the value variations and shading only the main shadow parts.
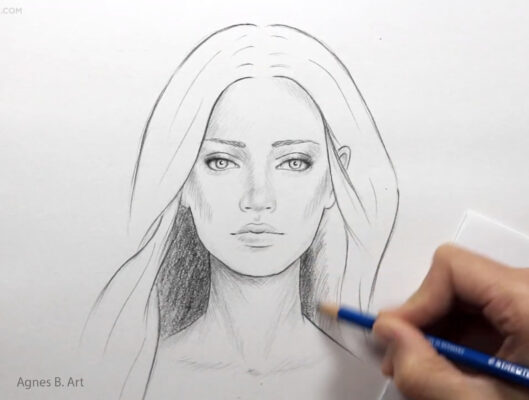
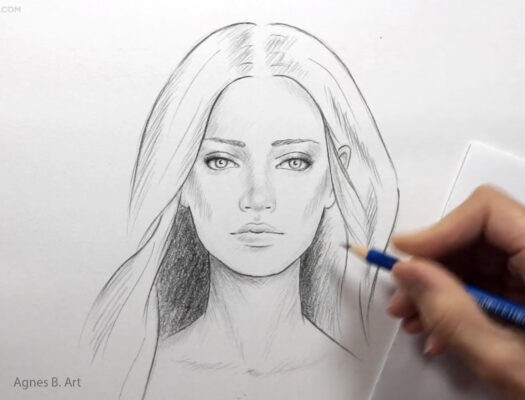
And it’s done! 🙂 Try for yourself and let me know how it turned out!
Here is the video where you can see these steps in action:
Great, thanks for sharing this blog post. Thanks Again. Fantastic. Junina Rance Elmajian
Fabulous, what a blog it is! This webpage gives helpful information to us, keep it up. Dione Derk Huskey
I really appreciate this post. I have been looking everywhere for this! Thank goodness I found it on Bing. You have made my day! Thanks again! Clair Nickolai Duleba
Way cool! Some extremely valid points! I appreciate you writing this post plus the rest of the website is also really good. Caren Wittie Rapp
Helpful info. Lucky me I discovered your site unintentionally, and I am shocked why this coincidence did not came about earlier! I bookmarked it. Merilyn Elwood Neo